Creating a New Project
Start by launching Moscrif IDE. From menu select Project » New Project. If you have your workspace loaded, IDE displays simple dialog:
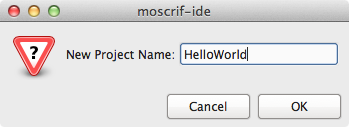
Enter the project name "HelloWorld".
If You do not have any workspace loaded, IDE displays following dialog:
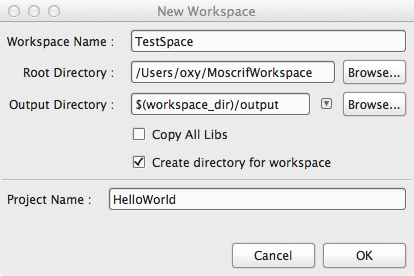
Enter the workspace name (e.g. "TestSpace") and then project name "HelloWorld".
Your new project “HelloWorld” is created.
Coding HelloWorld!
Expand your workspace and find main.ms file. Double-click on this file and Source Code Editor appears. Please copy the source code below and paste it into the editor.
var app = new Moscrif.Window(); app.onStart = function(sender)
{
this._quit = false;
this._paint = new Paint();
} app.onDraw = function(sender, canvas)
{
canvas.clear(0xffdada00);
canvas.drawText("Hello world! Tap to quit.", 100, 100, this._paint);
} app.onProcess = function(sender)
{
return this._quit ? 0 : 1;
} app.onPointerReleased = function(sender, x, y)
{
this._quit = true;
} app.init();
app.run();
Running HelloWorld!
To compile your project and run it in the emulator, just click on the "Run" button.
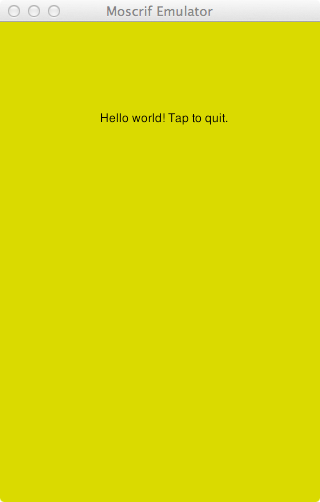
Congratulations, you have now compiled and executed your first Moscrif application!
Publishing HelloWorld!
In Workspace Tree Pane select HelloWorld and click on the Properties button. Choose Android 2.2+ and select one application font (this font will be embedded into installation file).
.png)
Confirm the setting by clicking “OK” button. Next, hit the "Publish" button in the Main Toolbar. Specify target platform by clicking on the "Android 2.2" tab. Our HelloWorld is resolution independent, so select “HelloWorld_android_2_2_uni” and click on Publish button.
.png)
Wait for a moment. After successful Publish, the Output Directory will appear. Deploy output installation file to your device. To run “HelloWorld” application on the device, follow the installation process.