Moscrif project consists of several files. Pubish process creates native installation file, from all of these files. This process takes only a few seconds. The most important files in every Moscrif project are:
-
*.app file: the *.app file contains general information about project, like author, title, version etc. This file do not contains any source codes and it is the onlyone file, which is sent to server for licence validation, when final compiled and signed installation file is published. This file is managed by Moscrif IDE and it is not recommended to change it manually.
Example: SampleWebImage.app file
main: main.ms
title: Sample Web image
description: Sample, demonstrates Web Client
author: Moscrif
copyright:
homepage:
uses: core graphics web net ui
orientation: portrait
version: 1.0
-
*.msp file: the *.msp file containts all project settings; different for every platform. These settings are e.g.: splash screen, icon, used fonts, skins ets.This file is also managed by Moscrif IDE and it is not recommended to change it manually.
-
*.ms files: the *.ms files are files that which contain source codes of your project. The usuall start-up file is main.ms. These files are not sent anywhere out of your computer during publish process.
The project can also contain some other files like SQlite file (*.sb file), picture files (*.jpg, *.png), xml files etc.
Publish process
Publish process is customized and is started from publish dialog window, which can be opened by clicking onto its icon in Moscrif IDE main menu.
Image: main menu
Select required platform
On the top of publish dialog, there are five tabs. Every tab represents one supported platform. For every platform, there is a list of various versions of the project.

Image: tabs with supported platforms
In the list of project versions, there is always uni version (for all resolutions). Uni version is universal version, which may be used if the application is not depending on the device resolution. Apart from uni version; there can be other versions as well - for specific resolutions.
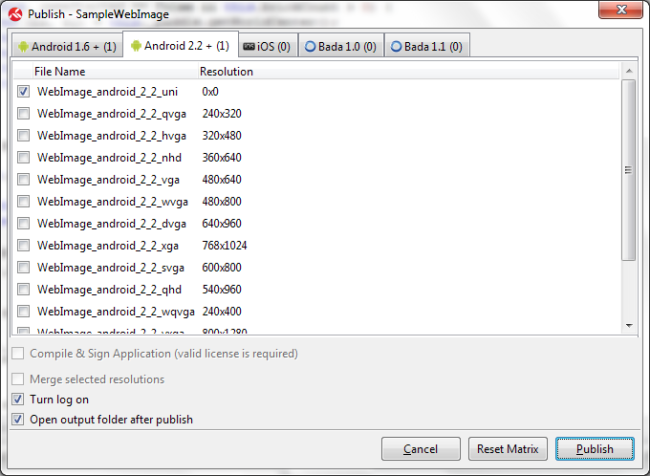
Image: publish dialog with various resolutions
Only the filtered resolutions, which are used on the platform, are displayed for every platfom. F.e.: for iOS it offers only uni version and then versions for iPhone 3GS, iPhone 4, iPad (1024x768) and new iPad (1536x2048).
Other resolutions can be displayed if you right-click on Publish dialog and choose Show all. If resolution comes up as italic text, it means that the current platform does not support it. If you would like to display only supported resolutions, right-click again and choose Show relevant.
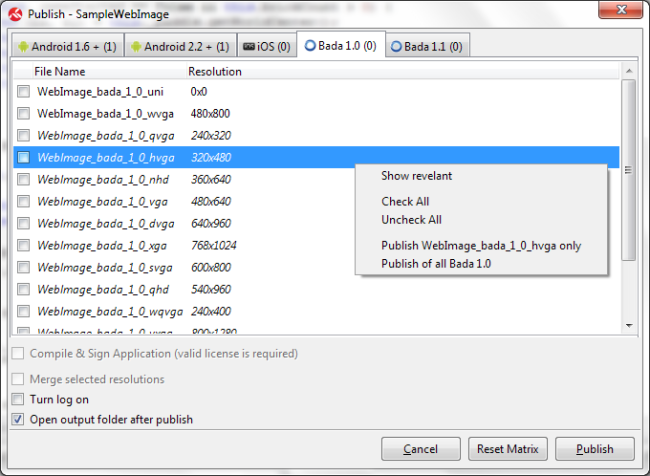
Image: dialog window with right-click menu
Required version of application can be easily ticked in the list of project versions. Games and Applications are mostly published in uni versions.
Aditional settings
Publish process can be customised by four aditional check boxes in the bottom of the dialog
.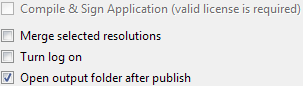
Image: additional settings
-
Compile & Sign Application: This option requires valid license. It is used to publish final game or application. When this option is selected, publish tools compile scripts to bytecode. Compiled codes are not human-readable. Only *.app file, which contains basic project information, is send to server for licence information validation. If the licence information is correct, the app file is digitally signed. Signed file is then sent back to Moscrif IDE.
-
Merge selected resolutions: This options allows to create installation file for more resolutions (It is better to use uni version, instead of merging too many resolutions).
-
Turn log on: It turns on/off Publish messages. Sometimes it is handy to know what publish does or if an error occurs, it helps to solve problems.
-
Open output folder after publish: After successful publish, it opens system file manager with current output directory.
Publish / cancel or reset
Finally, on the bottom-right of the window there are three buttons that start or cancel the publish process.

Image: publish buttons
-
Cancel: Close window without changes.
-
Reset matrix: Reset list of selected versions of the project.
-
Publish: Starts publish process.
When publish process finished, Moscrif IDE may open system file manager with published native installation files. It is quite handy to drag out published file into device, iTunes or Google play.
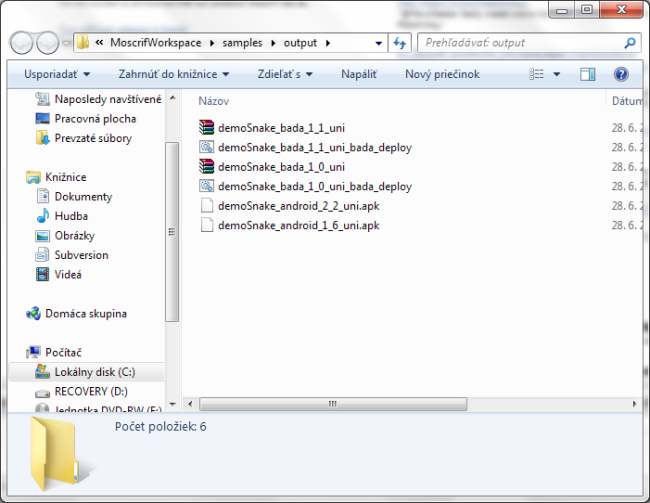
Image 5: published files