There is an Animator class that handles animations in Moscrif. This class demonstrates how easy the usage of existing javascript code in Moscrif is. This class was originally written by Bernard Sumption for web pages, see more here: http://berniesumption.com/software/animator/. We've just replaced few lines related to DOM window.setTimeout by Moscrif's Timer class.
Goal
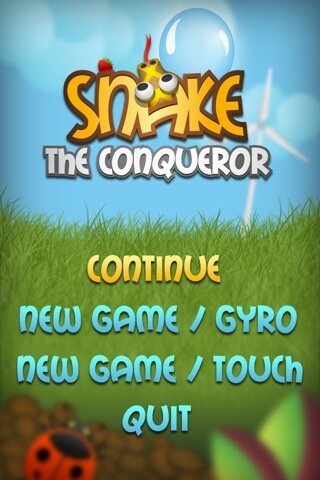
The goal is to create simple game's intro. After initial screen, there is pause for a sec - just for an effect.

After one second, menu items will be animated from the bottom side to the desired place.
How to use Animator
To use the Animator class, import the animator.ms in your code:
include "lib://core/animation/animator.ms"
Next the animation object is constructed. Constructor's paramaters are used to setup basic attributes like length of animation, type of animations etc...
var animator = new Animator({
transition: Animator.Transition.easeIn, // start out slowly and then quickly speed up at the end of the animation
duration: 400, // length of animation - e.g. 400ms
});
animator.addSubject( ... ) // add callback function or object
animator.play();
Custom animation
After, the simple function is created to make animated movement. As I mentioned before, this function animates menu items from the bottom to the desired place. Before start of the animation the object (menu items) is moved to its initial (hidden) state. During the animation the position of the object is updated. Note, that the distance between the object's initial state and the desired place should be reduced, so reverse() method is used instead of play() method. play() goes from 0.0 to 1.0 but reverese() method uses range from 1.0 to 0.0.
function moveVertTo(image, dst, duration)
{
const delta = 500; // offset
image.left = dst.left; // left side has fixed position
image.top = dst.top + delta; // move by offest by default
image.visible = true; // for drawing method only
var animator = new Animator({
transition: Animator.Transition.easeIn, // start up slowly and then quickly speed up at the end of the animation
duration: duration, // length of animation in miliseconds
});
animator.addSubject(function(state) { // state starts from 1.0 to 0.0
image.top = dst.top + Math.floor(state * delta);
win.invalidate(); // force repaint
})
animator.reverse(); // animator.play() goes from 0..1, but we want 1..0
}
Conclusion
This is very brief sample, that demostrates how to customize animation in Moscrif. Up to 60 line of javascript code is enough to do so. This sample is designed for iPhone's Retina displays only. Hopefully, you can use it for any other device's resolution. Check out video in the right-top placed block "Linked Video"...
Full source code:
include "lib://core/log.ms" // log stuff
include "lib://core/animation/animator.ms" // animator class var win = new Moscrif.Window(); // main window object
var quit = false; // set quit to true for application exit
var background = null; // background image
var menu = []; // array of menu (images) function moveVertTo(image, dst, duration)
{
const delta = 500; // offset
image.left = dst.left; // left side has fixed position
image.top = dst.top + delta; // move by offest by default
image.visible = true; // for drawing method only
var animator = new Animator({
transition: Animator.Transition.easeIn, // start up slowly and then quickly speed up at the end of the animation
duration: duration, // length of animation in miliseconds
});
animator.addSubject(function(state) { // state starts from 1.0 to 0.0
image.top = dst.top + Math.floor(state * delta);
win.invalidate(); // force repaint
})
animator.reverse(); // animator.play() goes from 0..1, but we want 1..0
} win.onStart = function(sender) // called when app starts
{
// loading backgound image & 4 images for menu
background = Bitmap.fromFile("app://menu_back.png"); var img1 = Bitmap.fromFile("app://text_continue.png");
menu.push(img1); var img2 = Bitmap.fromFile("app://text_gyro.png");
menu.push(img2); var img3 = Bitmap.fromFile("app://text_touch.png");
menu.push(img3); var img4 = Bitmap.fromFile("app://text_quit.png");
menu.push(img4); // Timer object that schedules one tick only
var delayAndTickOnce = new Timer(1, 1); // the first parameter is ignored when second one is number of the tick
delayAndTickOnce.onTick = function(sender) {
moveVertTo(img1, {left:170, top:510}, 100);
moveVertTo(img2, {left:35, top:610}, 125);
moveVertTo(img3, {left:30, top:710}, 150);
moveVertTo(img4, {left:240, top:810}, 175);
}
delayAndTickOnce.start(1000); // start after 1000ms
} win.onProcess = function(sender)
{
return quit ? 0 : 1;
} win.onPointerReleased = function(sender, x, y) // quit on touch
{
quit = true;
} win.onDraw = function(sender, canvas) // draw backround and menu's images
{
canvas.drawBitmap(background, 0, 0);
for (var m in menu)
if (m.visible)
canvas.drawBitmap(m, m.left, m.top);
} win.init().run(); // initialize & run app